> For the complete documentation index, see [llms.txt](https://docs.cwicly.com/llms.txt). Markdown versions of documentation pages are available by appending `.md` to page URLs; this page is available as [Markdown](https://docs.cwicly.com/cwicly/components/properties-add/colour-property.md).
# Colour Property
The Colour Property allows you to configure a colour property.
You can input a Name, decide whether it should be Responsive or not and choose a suitable Default colour.
* Open the Components Properties modal.
* Select the Colour Property you wish to configure.
This is an example of how it will look once configured.
## Connect
The Colour Property needs to be connected for it to be applied to the canvas.
{% hint style="info" %}
You need to select "Modify" in the Toolbar or Block Inspector for the blocks that make up a particular component to be visible.
{% endhint %}
* Select the Component to which you want to connect the Colour Property.
* Select "Modify" in the toolbar or the Block Inspector.
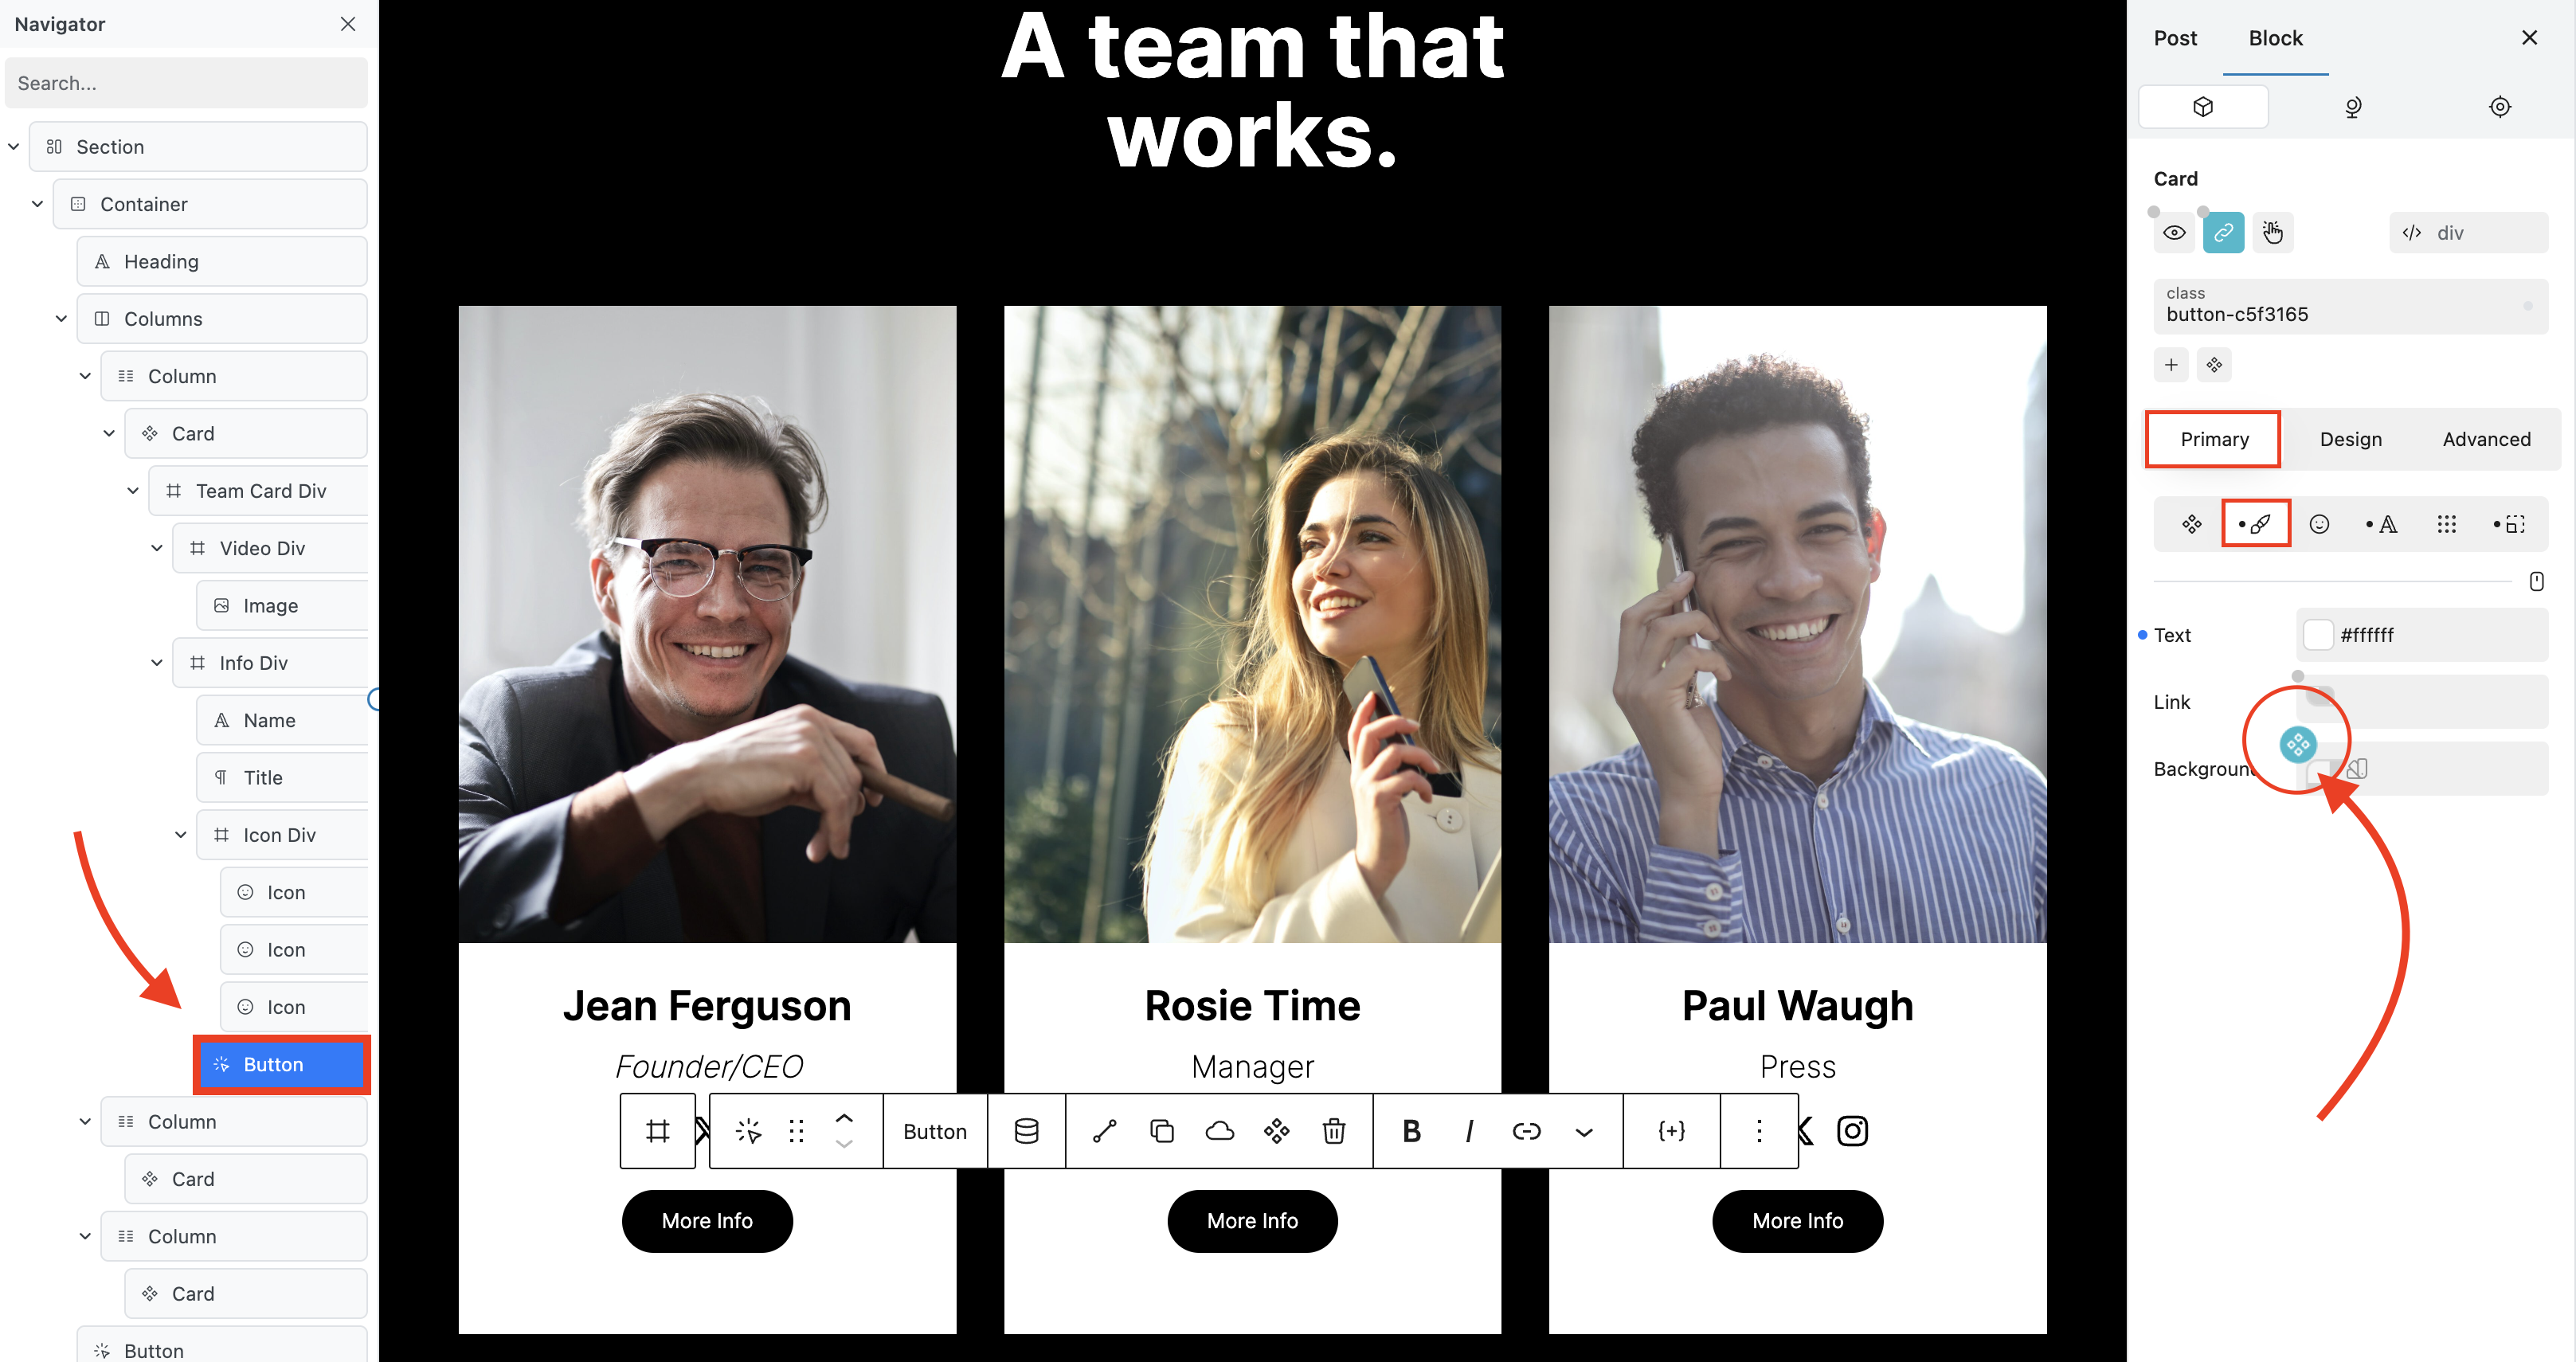
* The blocks contained in the component are now visible in the navigator.
* Find and select the Colour property you wish to connect in the navigator.
* In the Components tab of the Primary tab, click the Component icon above the Colour property you wish to modify.
* Choose the appropriate Colour property in the dropdown and click to open the Component Properties modal.
* The Colour Property will now be visible in the Content field in green which indicates that it is connected.
* Click the Colour Property to open the Component Properties modal to make any further adjustments.
## Customise
To customise the colour property, make sure Customise is selected in the tool bar.
* Adjust to required colour in the Block Inspector and it will be visible on the Canvas.
## Name
Allows you to label the selected Colour property.
* Open the Component Properties modal.
* Select required text property.
* Input suitable label name to Name field.

The required label will now be visible in the Block Inspector next to the Colour field.
## Default
Allows you to set a suitable default Colour to your component.
* Open the Components Properties.
* Select required Colour property.
* Open Settings tab.
* Input required default Colour in Default field.

This is how it should now look on the canvass.
### Responsive
This property can be toggled to allow you to set different Colour properties on selected screen sizes.
* Toggle Responsive on and off as required.
* Select required screen size (desktop, tablet, mobile, normal).